
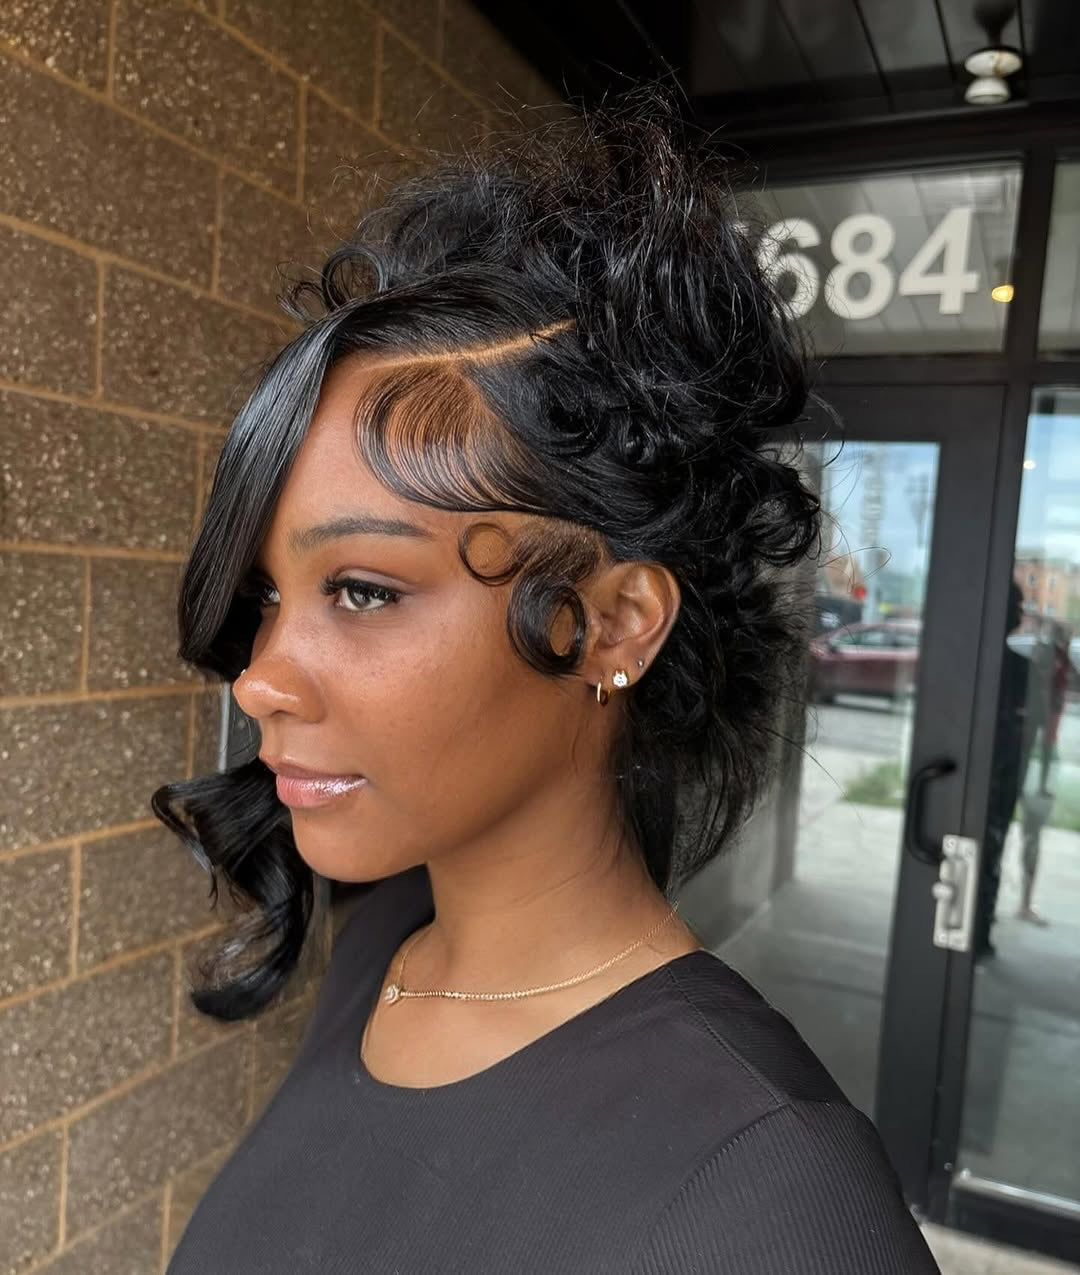
How to Install a Lace Front Wig: Step-by-Step for Beginners
If you're new to lace front wigs, the installation process can seem a little intimidating. From preparing your natural hair to getting the lace to blend seamlessly with your skin, there are several steps involved in achieving a natural-looking finish.
The good news? You don't need to be a professional hairstylist to install a lace front wig.
With the right tools, a little patience, and the correct technique, you can achieve a beautiful, secure installation at home.
In this beginner-friendly guide, we'll walk you through how to install a lace front wig step by step.
What Is a Lace Front Wig?
A lace front wig features a lace panel at the front of the wig, typically extending from ear to ear. Individual strands of hair are attached to the lace to create the appearance of hair growing naturally from the scalp.
Because the lace can be blended with your skin, lace front wigs offer plenty of styling versatility. Depending on the wig construction, you may be able to create a middle part, side part, or style the hair away from your face.
What You'll Need
Before you start, gather everything you need so you don't have to interrupt your installation.
Basic Wig Installation Kit
- Lace front wig
- Wig cap
- Rat-tail comb
- Hair clips
- Wig adhesive or wig glue, if required
- Adhesive remover
- Scissors or small eyebrow scissors
- Alcohol or a suitable skin-prep product
- Edge brush
- Hairdryer with a cool or low-heat setting
- Wig band or melt band
- Foundation or concealer that matches your skin tone
- Styling products and tools
Step 1: Prepare Your Natural Hair
The first step is creating a smooth, flat foundation for your wig.
Start by detangling your natural hair and securing it as flat as possible. If you have longer hair, consider creating neat cornrows or another low-profile style that distributes the hair evenly across your head.
The goal is to avoid large bumps underneath the wig.
If your hair is very short, you can brush it back and secure it flat with suitable products.
Why Is This Step Important?
A flat foundation helps the wig sit naturally and reduces visible bumps. It can also make the wig more comfortable to wear.
Avoid making your braids or ponytail too tight. Your wig installation should never cause significant pulling, pain, or tension.
Step 2: Put on Your Wig Cap
Place your wig cap over your natural hair, making sure it sits comfortably and covers the hair underneath.
Depending on your preference and the construction of your wig, you may choose a nude or similar-toned cap to help create a more seamless appearance.
Make sure the cap isn't excessively tight. Comfort matters just as much as appearance.
Step 3: Prepare Your Hairline and Skin
Before applying any adhesive, make sure your hairline and the surrounding skin are clean and free from excess oil, makeup, and skincare products.
Gently cleanse the area and allow it to dry completely.
If you're using an adhesive, follow its specific preparation instructions.
Important: Never apply wig adhesive directly to irritated, damaged, or broken skin.
Step 4: Position the Wig
Before applying anything, place the wig on your head to check the fit.
Adjust the straps inside the wig if necessary. Position the lace along your natural hairline and check that the parting and overall placement look right.
This is your chance to make adjustments before securing the wig.
Beginner Tip
Don't rush this step.
Try the wig on several times if necessary. Once adhesive has been applied, repositioning becomes more difficult.
Step 5: Trim the Lace
If your lace front wig comes with excess lace extending beyond the hairline, you'll need to trim it.
Use small, sharp scissors and carefully cut away the excess lace.
Rather than creating one perfectly straight line, you can make small, uneven cuts that follow the natural shape of the hairline. This can help prevent an obvious straight edge.
Take your time. It's much easier to remove more lace later than to fix a cut that's too far back.
Step 6: Apply Your Adhesive
If you're installing an adhesive lace front wig, apply your chosen wig adhesive according to the manufacturer's instructions.
Use a thin, even layer along the areas where the lace will sit. Allow the adhesive to become tacky if the product instructions call for a waiting period.
Don't use excessive amounts of glue. More adhesive doesn't necessarily mean a better installation and can make removal and cleanup more difficult.
Want a No-Glue Option?
If you prefer not to use adhesive, you can choose a glueless lace front wig. These wigs are designed to stay in place using features such as adjustable straps, combs, elastic bands, or a secure cap construction.
They're particularly convenient if you want to remove your wig regularly.
Step 7: Secure the Lace
Once your adhesive is ready, carefully place the lace onto the adhesive, starting from one side and working toward the other.
Press the lace gently into place using a clean edge of a comb, your fingers, or another suitable tool.
Be careful not to drag the lace across the adhesive, as this can cause lifting or uneven placement.
Work slowly around the hairline until the lace is securely attached.
Step 8: Melt the Lace
One of the most important steps for a natural-looking installation is helping the lace blend into your skin.
Place a melt band or silk scarf firmly but comfortably around the hairline.
Leave it in place according to the needs of your adhesive and the wig installation process.
You can also use a hairdryer on a cool or low-heat setting to help set the lace. Avoid excessive heat, particularly around your skin and delicate lace.
Step 9: Style the Hairline for a Natural Finish
Once your lace is securely in place and you've allowed the installation to set, it's time to focus on the hairline. This step can make a significant difference in how natural your lace front wig looks.
Start by gently removing the melt band and checking the lace from different angles. The lace should sit flat against your skin without obvious lifting or visible edges.
Blend the Lace
If you can still see a slight difference between the lace and your skin, use a small amount of foundation or concealer that closely matches your complexion. Apply it lightly rather than layering on too much product.
You can use a small makeup brush or sponge to blend the product around the hairline and parting.
Share:
Glueless vs Glued Wigs: Which One Is Right for You?